
How to build a brick wall
How to build a brick wall
Before we start to instruct on how to build this wall, we need to inform you that any retaining wall over 600mm high needs the advice and instruction of a qualified builder, any other wall over 900mm needs serious consideration before an unqualified person takes on such a project.
This guide will give you the exact instructions needed to build a small garden wall 4 or 5 brick rows high.
Foundations
The first part involves marking out the area where the wall will be built so that you can start on the foundations. Also known as footings, if you have an already concreted area to build on then you may not need footings.
For this example we are building a wall that is 450mm high onto soil/loose ground
Dig a trench 200mm high and 350mm wide
Prepare some concrete using 6 parts aggregate (stone and gravel) and 1 part cement. Pour in your water and mix so you have a fairly wet consistency enabling you to evenly and easily spread the concrete out into your foundation trench.
Tip all your concrete into the hole and flatten the top with a trenching trowel. Tamping the concrete creates a rough rugged finish and helps the mortar to bond when starting the brickwork.
Leave the concrete overnight to harden
Building the Wall
It’s best to lay down a couple of rows of bricks without any mortar to assess exactly how many you need. You will also identify the parts of the wall where you may have to cut some bricks for a perfect fit.
Once you have the wall exactly where you want it on the foundations then you can set up a string line to mark your edge.
Making the Mortar
For this wall project we are going to be using a mortar made up of 3 parts building sand to 1 part cement. Just add enough water to bond it together creating a smooth consistency
Laying the Blocks
First make a line of mortar underneath your line to create the footing. “Butter” the end of the bricks, which need to press into any existing wall, with some mortar, lay onto the footing and press into the wall.
Using a rubber mallet and a spirit level make sure all bricks laid are level running along the line of the wall and also across the line.
Continue laying the first row of bricks using the mortar and leveling up with your long spirit level.
For sections where a full brick can’t be used you will need to cut the block into the required shape using a hammer ad bolster chisel.
Laying the Second Course
The next row of bricks are laid on top of the first in exactly the same way. Make sure there are no vertical gaps in line with the row below by staggering the position of each brick
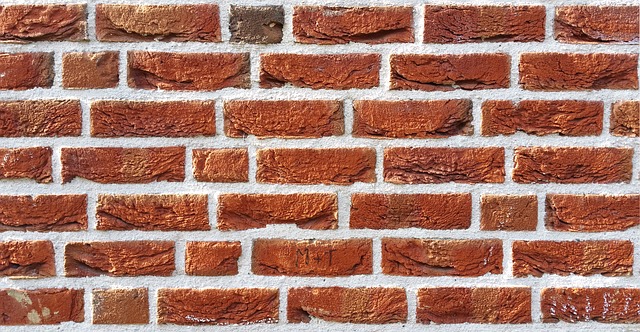
As in the classic brick wall style!
Take the wall as high as it needs to be repeating this process. When you get to 3 rows high you are going to need to start “pointing” the mortar and neaten it up using a small pointing trowel and pointing bar.
Copings
Like the first row of brick work, your coping stones need to be dry laid on top of your wall to mark out how they are going to fit. Making sure that the gaps between them are not in line with the vertical gaps of the brickwork below.
This will also identify any cutting that needs to be done…..it is better to have this finished before you start mortaring the coping onto your wall.
Exactly like you did with the bricks the coping slabs sit onto a nice section of mortar and mortared in between each coping slab. Taping into place with your rubber mallet and spirit level so you have a really nice level finish to your wall.
Point up the mortar when all the slabs are in place and your wall is complete!
For your garden wall building project to be built by a professional, if you are in Plymouth or Devon call us here at Plymouth Builders on 01752 905030


